Azure Active Directory
This guide connects Microsoft Azure active directory to Infra as an identity provider.
Connect
To connect Azure active directory via Infra's CLI, run the following command:
infra providers add azure \
  --url login.microsoftonline.com/${TENANT_ID}/v2.0 \
  --client-id <your azure client id> \
  --client-secret <your azure client secret> \
  --kind azure
Finding required values
- Login to the Azure Portal.
- Navigate to the Azure Active Directory > App registrations.
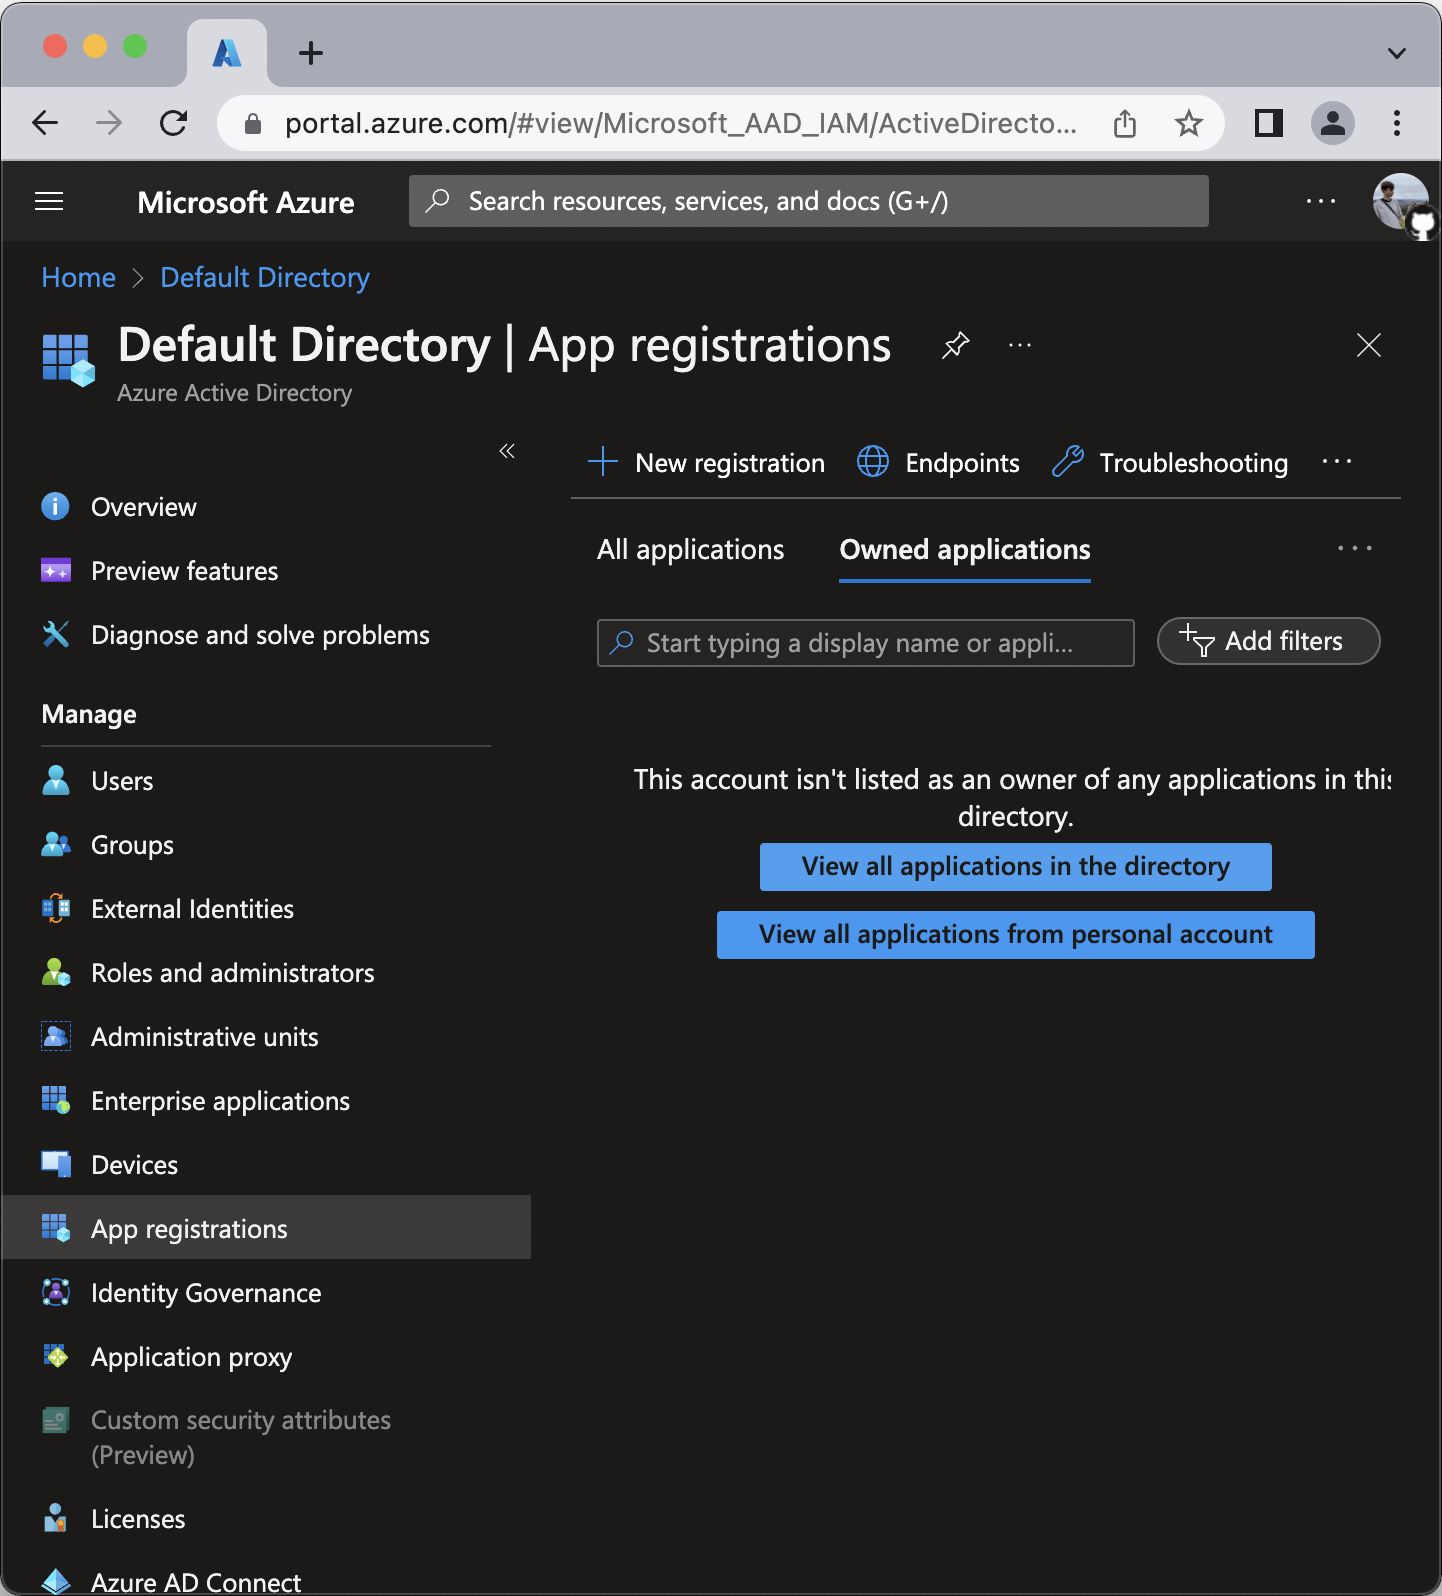
- Click New registration
- Register the application:
- For Name write Infra
- For Redirect URI select
Weband addhttps://<org>.infrahq.com/login/callback - Click Register
If supporting an
infraCLI version lower than0.19.0, also addhttp://localhost:8301as a redirect URI.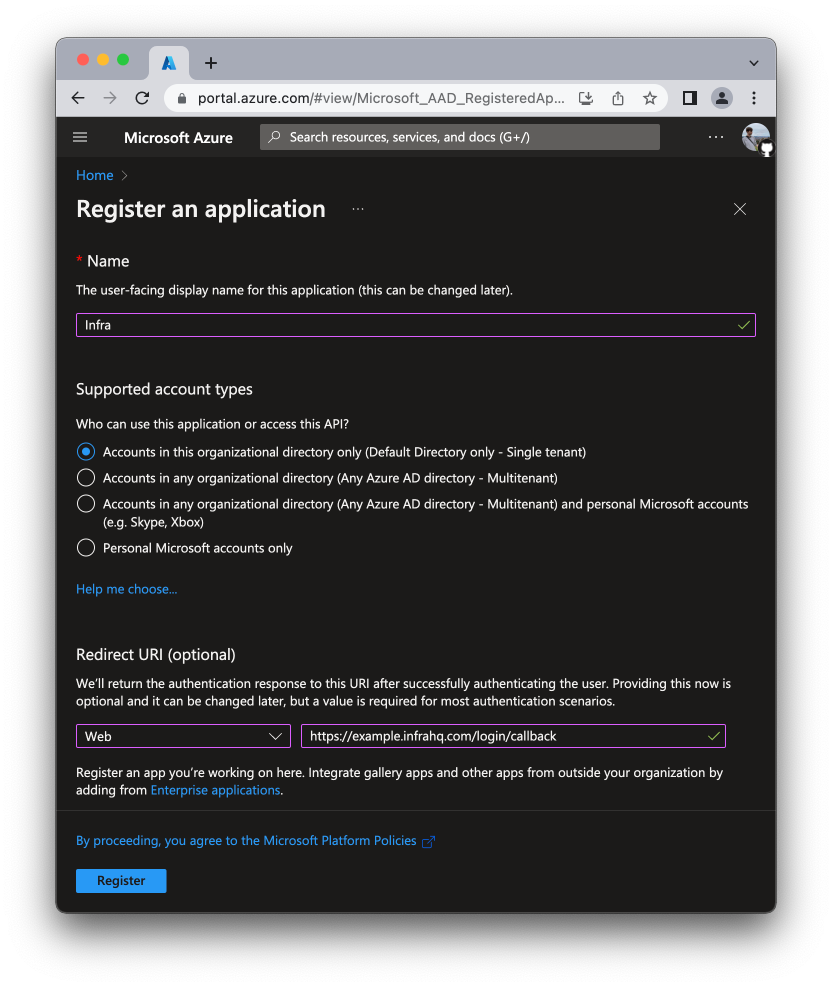
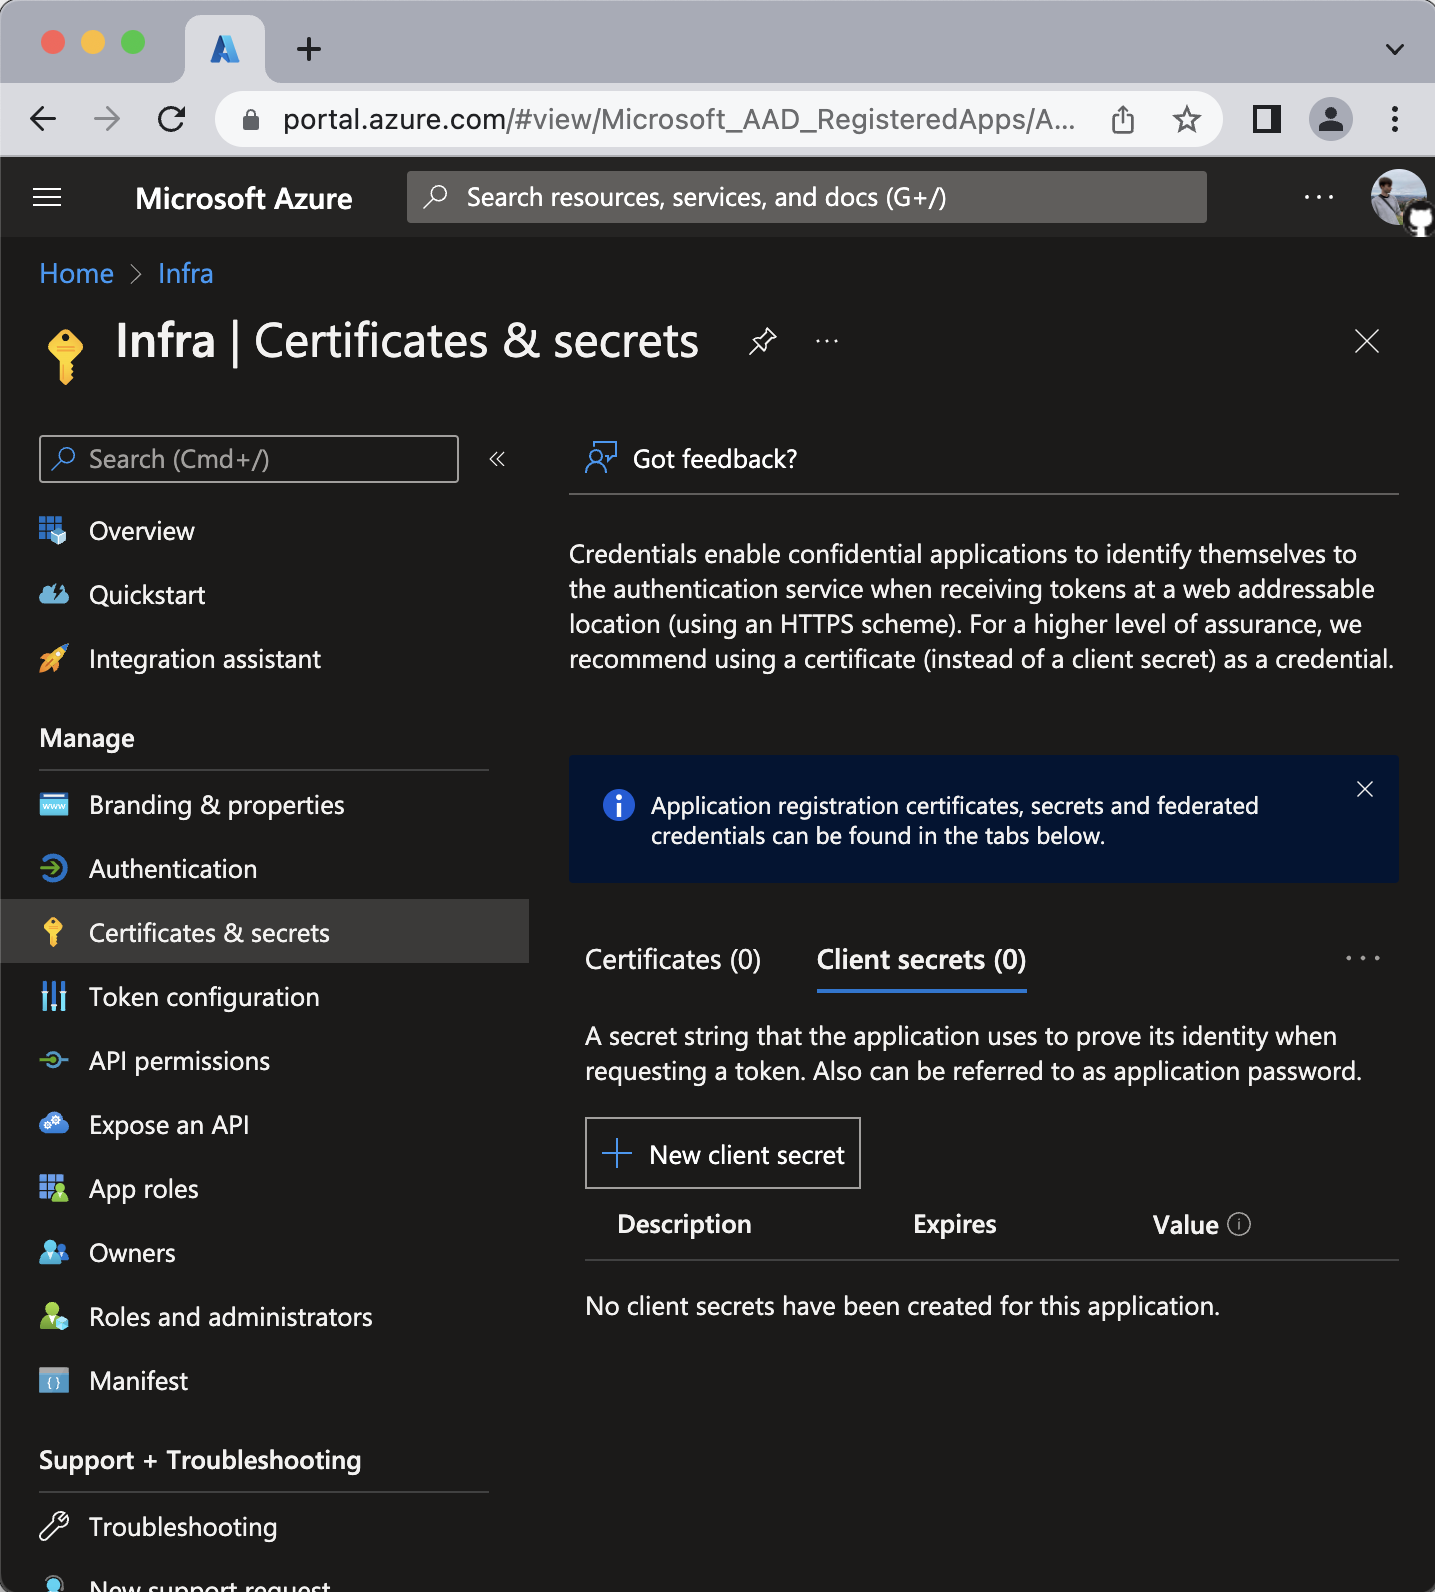
- On the Overview tab, click Certificates & secrets > Client secrets
- Click New client secret. - Description field is optional.
- In the Add a client secret pane select an expiry. (Note: you will need to generate a new client secret after expiry).
- Note the client secret value.
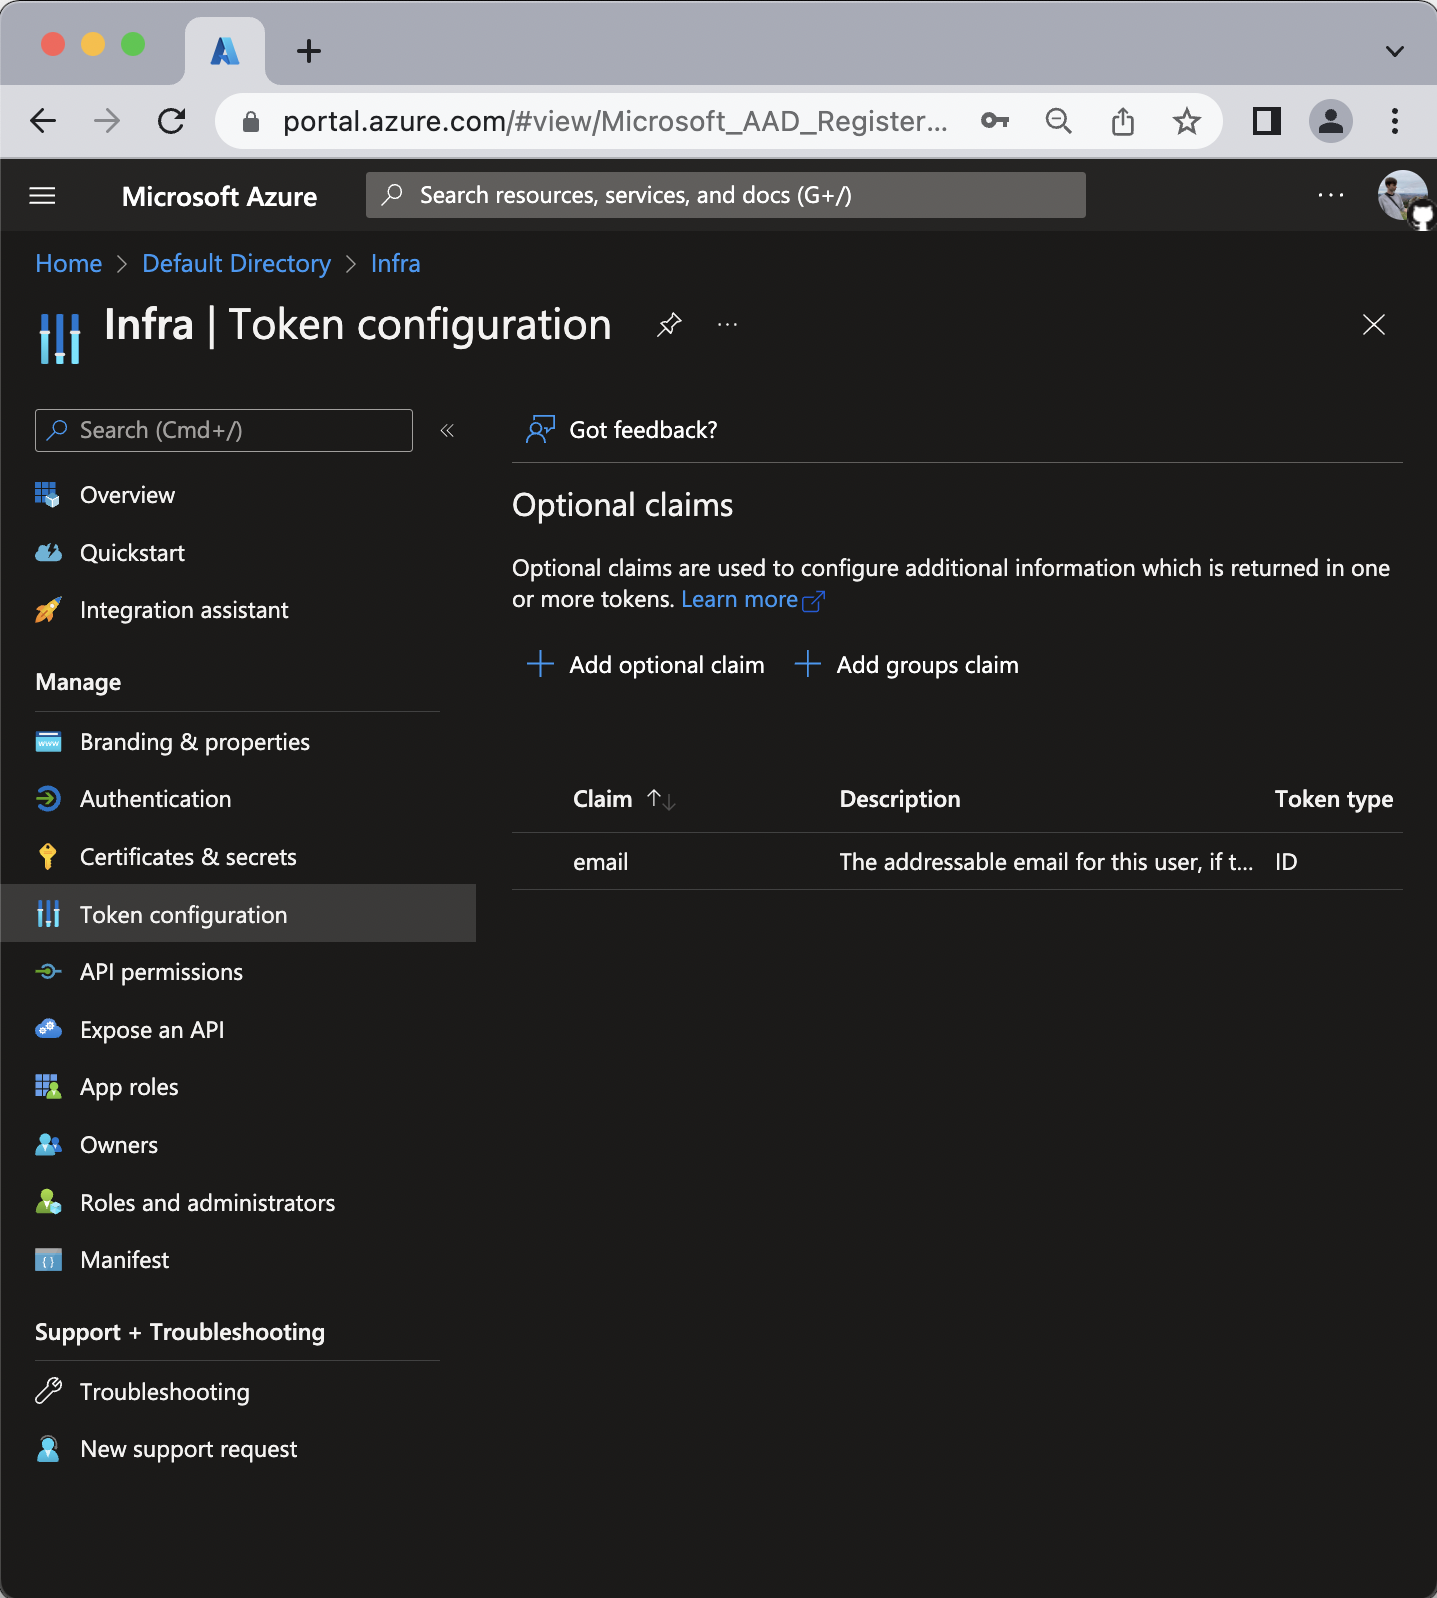
- Navigate to Token configuration
- Click Add optional claim.
- For Token type select ID.
- From the list of claims select the
emailclaim. - Click Add.
 - If prompted to "Turn on the Microsoft Graph email permission (required for claims to appear in token)", please add it. (You will also add it in the next step.)
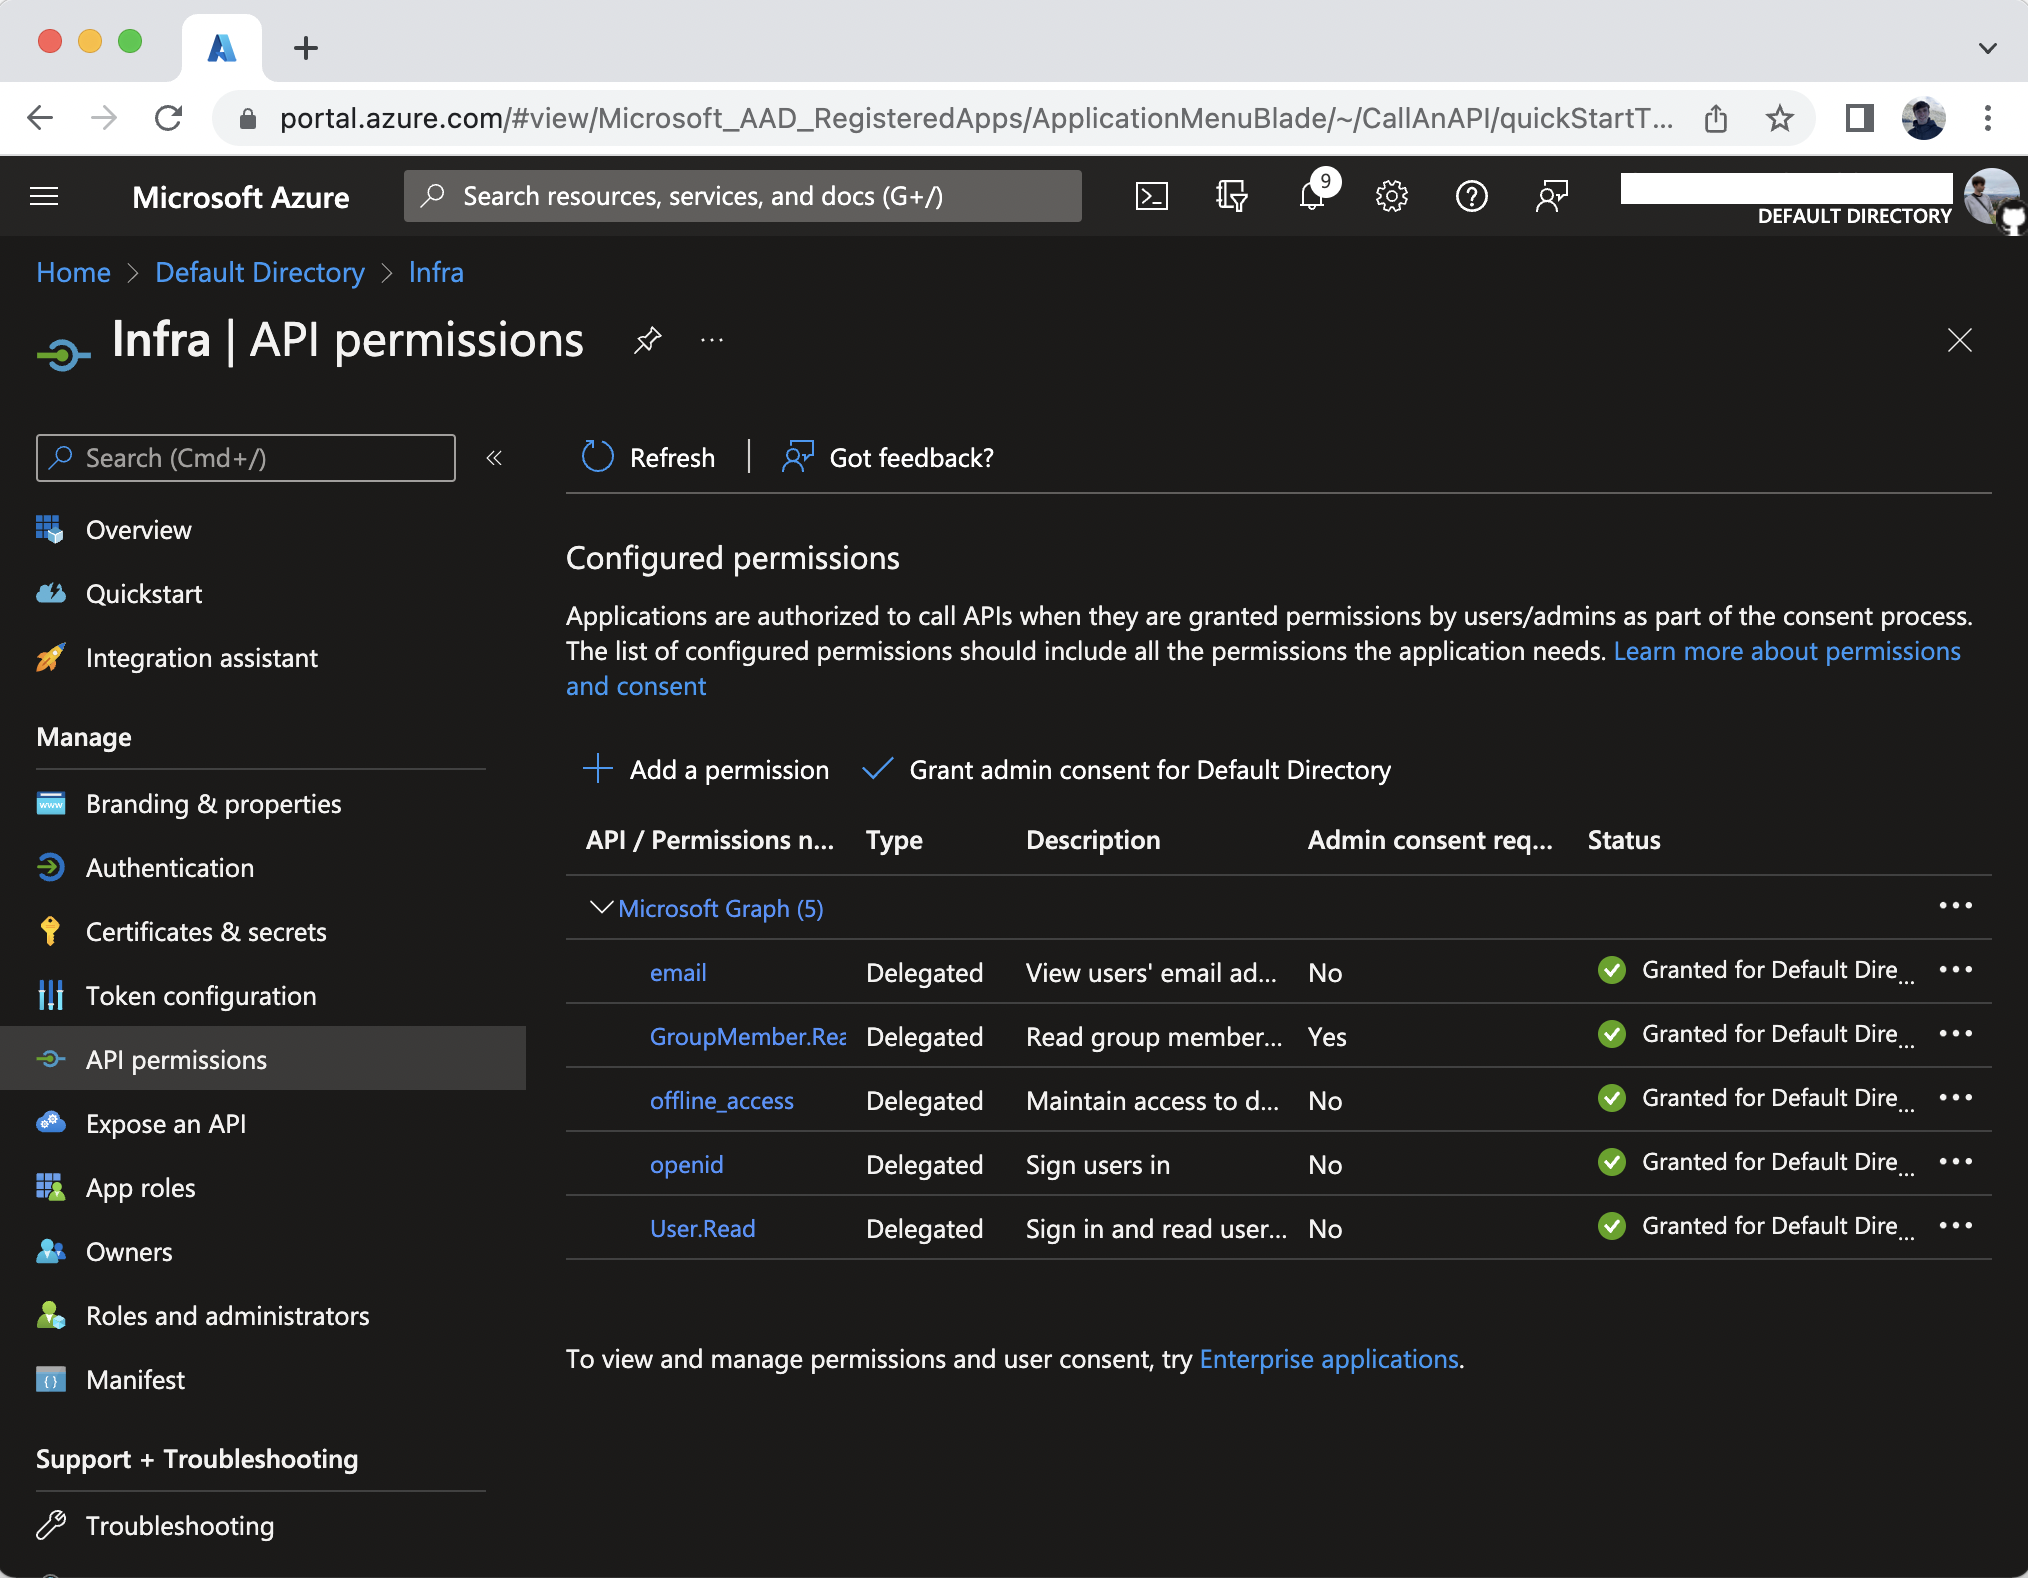
- Navigate to API permissions.
- Click Add a permission
- Click Microsoft Graph
- Click Delegated permissions
- Select the following permissions:
- OpenId permissions > email
- OpenId permissions > offline_access
- OpenId permissions > openid
- GroupMember > GroupMember.Read.All
- User > User.Read - Click Add permissions.
- Click Grant admin consent for Default Directory and select Yes when prompted.
- From the Overview tab copy the Application (client) ID, Directory (tenant) ID, and Client Secret values and provide them into Infra's Dashboard or CLI.
